How to Disable Windows Defender on Windows Permanently
Disabling Windows Defender Permanently on Any Windows

See how to disable Windows Defender on any version of Windows. We all know that Windows Defender is integrated into the Windows 10 operating system and does not have the option to uninstall or disable it.
Some computers are suffering from high RAM consumption caused by the Windows Defender process called “Antimalware Service Executable.” In some cases, its consumption is stuck close to 100% usage, causing freezes and slowdowns due to insufficient available RAM.
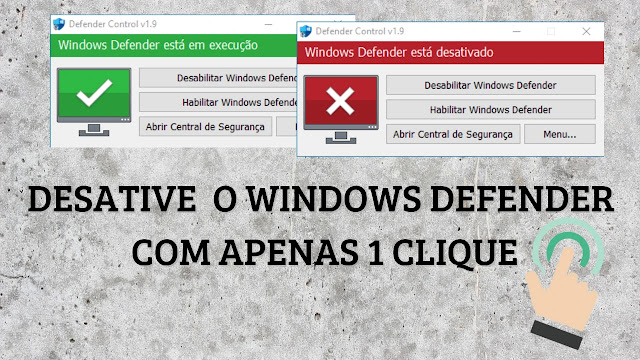
It’s important to understand that the “Antimalware Service Executable” is responsible for real-time scanning and monitoring by Windows Defender. To disable Windows Defender on Windows 10 with just one click, we will need Defender Control.
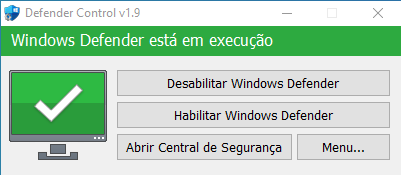
It is a small executable software developed by SORDUM that does all the heavy lifting for you with just one click, disabling the entire Windows Defender service on Windows 10.
How to Disable Windows Defender on Windows
WARNING: After downloading, you need to pay attention to this step. After downloading Defender Control, do not extract the folder just yet.
- Go to “Settings > Update & Security > Windows Security > Virus & Threat Protection.”
- Under Virus & Threat Protection Settings, select Manage Settings.
Disable the following services:
- Real-time Protection
- Cloud-delivered Protection
- Automatic Sample Submission
- Tamper Protection
When you disable these settings, do not close this window. If you close it, the services will automatically restart. So keep the window open and simply minimize it.
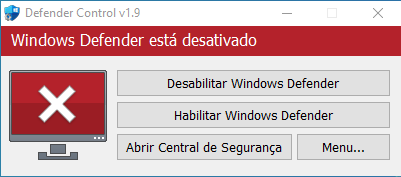
Now extract the Defender Control folder and run Defender Control as an administrator. With just one click, you can permanently disable Windows Defender on Windows 10.

If you want to re-enable it, simply follow the same process and click the button below.

See also: Windows Update Blocker v1.6 – Block automatic updates on Windows 10/11
Have questions? Watch the tutorial below:
Download Defender Control
Download


![%Canal do Shin imagens% 6 Como Deixar a Barra de Tarefas do Windows Transparente [TranslucentTB]](https://canaldoshin.com.br/wp-content/uploads/2024/09/Como-Deixar-a-Barra-de-Tarefas-do-Windows-Transparente-TranslucentTB-390x220.png)
